
A critical component of improving handwriting is ensuring students are forming the letters correctly. However, for those students who are having difficulties with the correct positioning and sizing of the letters, here are a few ideas:
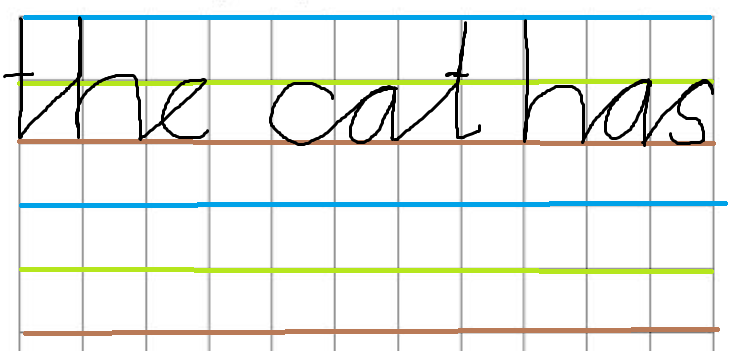
Use dotted third paper. For extra visual support, colour the base line brown to represent the ground, the middle dotted line green to represent the grass and the top line blue to represent the sky. Tall letters such as t, h, l, b start on the sky line, most other letters start on the green grass line and all the letters ‘sit’ on the brown ground line.

For those student who find it difficult to stop on the brown line, cover that line with a strip of glue (and wait for it to dry) or use a thing strip of plasticine or modelling clay, or a WikkiStix. The student’s pencil will then ‘bump’ into the line providing a physical barrier. You can also purchase a commercial version of this type of raised-lined paper.
Using appropriate sized graph paper can be useful for older students who are learning cursive writing and having difficulty with sizing and spacing. Again, if necessary the horizontal lines can be colour-coded.
Strong fine motor skills are an important component of writing. If this is an area of difficulty, students can practise drawing a line inside different shaped paths. Download, print and laminate these worksheets.
If students have difficulty leaving an appropriate space between words, you can get them to use the index finger of their non-writing hand or a popstick. However, both of these strategies impede writing fluency. A better option is to have students practise estimating the required distance using one letter or dots. Begin by having students write one letter – perhaps ‘h’. They then use their finger to determine the correct spacing and place a dot where the first letter of the next word would start. This becomes their guide. Students then practise writing two letters or two dots that are the appropriate distance apart. They can then check using their finger or popstick. In this way, they have multiples practises of visualising the correct spacing in a small amount of time.